Thinking about giving your bathroom a fresh look but dreading the massive quote from a contractor? I’ve been there. Tackling a bathroom tile renovation on your own might seem intimidating, but honestly, it’s one of the most rewarding DIY bathroom tile jobs you can take on. With a bit of patience and some honest elbow grease, you can transform your space without breaking the bank. Let’s walk through the exact steps to get that professional bathroom tile finish yourself, and I’ll share some tips to make your bathroom tile installation go smoothly from start to finish.
1. Tackling the Old Tile Removal
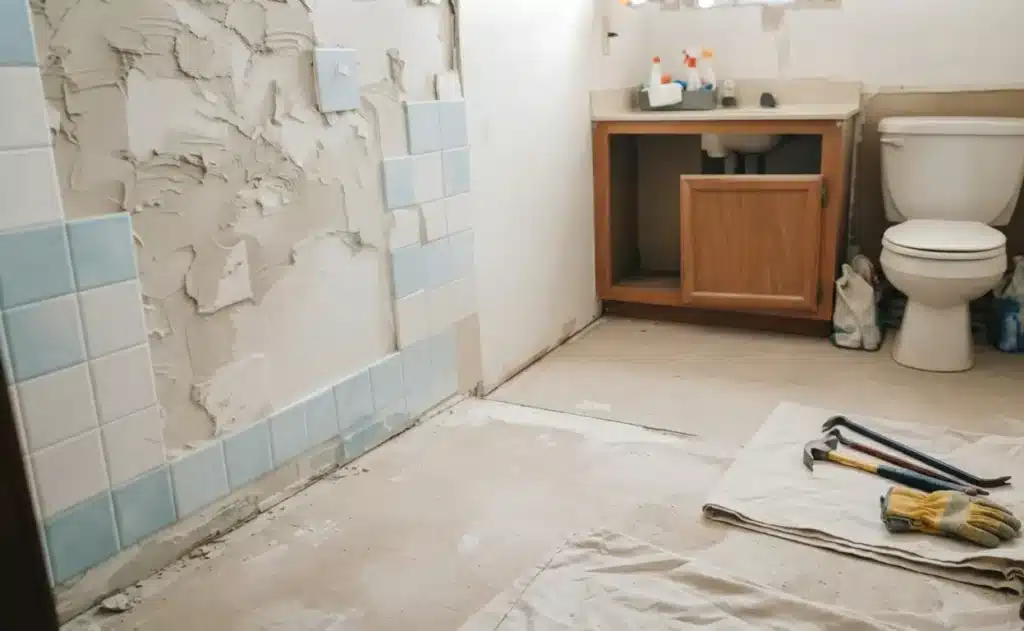
Before you can lay down anything new, you’ve got to clear the deck. Removing old bathroom tiles is the messiest, most intense part of the entire job. You’ll want to gear up with safety glasses, sturdy gloves, and a high-quality dust mask because, believe me, tile dust will fly everywhere.
Before you start swinging a hammer, make sure you understand the proper techniques in my guide on [How to Remove Old Bathroom Tiles Safely] to keep your walls intact and avoid puncturing pipes. While you’re prying those old pieces off, keep a sharp eye out for hidden mold or moisture buildup behind the tiles. Taking your time here saves you a massive headache later.
2. Picking the Perfect Bathroom Tiles
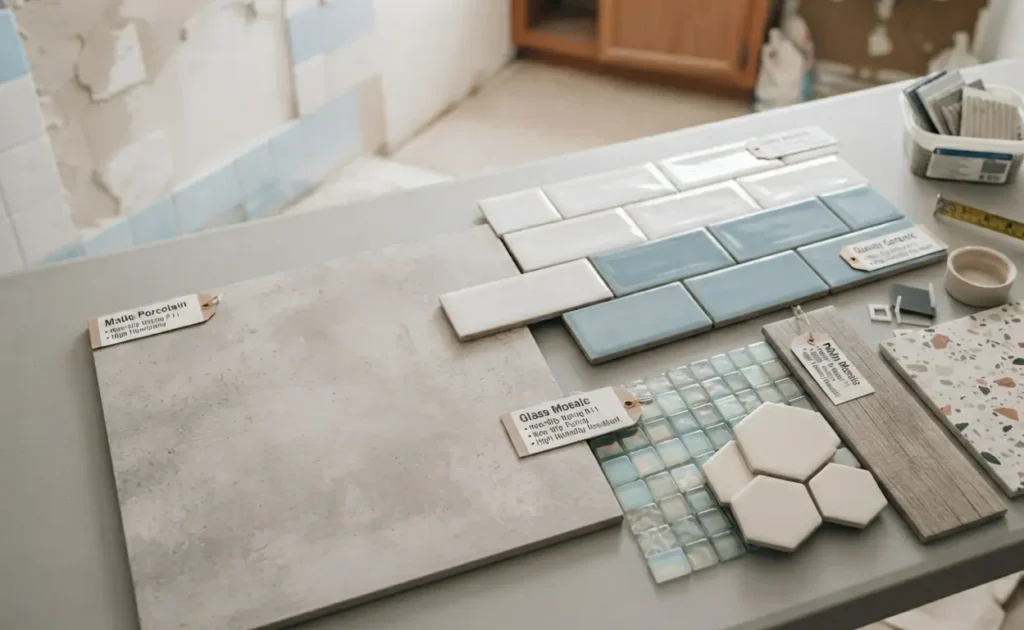
Once the wall is bare and cleaned, it’s time for the fun part: picking new materials. Not every bathroom tile is made for a high-humidity environment. Because your bathroom stays damp, you really need to be selective about what you buy.
Before you swipe your credit card, take a look at [How to Choose the Right Bathroom Tiles] to find the perfect balance of moisture resistance and timeless style. If you’re doing the bathroom floor, please stick to non-slip options—safety in the shower should always come first. Whether you choose ceramic tile for its versatility or porcelain tile for its superior durability, keep in mind that smaller sizes mean more grout lines to scrub clean later on.
3. Don’t Run Short: Calculating Your Needs
There is nothing worse than being three-quarters done with your bathroom tile installation and realizing you’ve run out of materials. It’s a total buzzkill that forces you to stop mid-project. Before you head to the home improvement store, take a moment to learn the proper way to calculate tile quantities so you have exactly what you need for your bathroom tile renovation, plus that crucial 10% buffer for breakage. Trust me, you’ll be incredibly glad you have those extra pieces if one of the tiles cracks while you’re trying to trim it around a sink pipe or a wall edge. –> [How to Choose the Right Bathroom Tiles]
4. Setting Up for Success
Before you apply any thin-set mortar, your wall needs to be clean, dry, and perfectly flat. If you try to skip the prep work—like installing the right backer board—the new tiles won’t bond properly, and you may end up redoing the entire project. Use a long level to mark your starting line. If your first row of bathroom tile is even slightly crooked, the whole wall will look off, so take your time getting that baseline perfect.
5. Laying the Tiles Like a Master
Now, let’s get to the real work. If you want to see the exact motion for buttering the back of each tile, I’ve broken down the full process in [How to Install Bathroom Tiles Step by Step] so you don’t miss a beat. Use a notched trowel to spread your adhesive, but don’t try to cover the whole wall at once—just apply enough for a small section so the mortar doesn’t dry out. Press each tile firmly into place and use tile spacers to keep the gaps perfectly even.
6. Finishing Touches and Aftercare
After the adhesive sets (give it at least 24 hours of total quiet), it’s time for the grout. Once you’ve wiped away the haze and everything looks crisp, you’re almost at the finish line. For the final steps on sealing your bathroom tile and long-term maintenance, check out my [How to Grout and Seal Bathroom Tiles] to make sure your hard work stays looking brand new for years to come. Proper sealing protects your tile installation from water damage and keeps those grout lines looking clean and sharp.
Do I really need to remove all the old adhesive after taking the tiles off?
Yes, you really should. If the wall isn’t flat and clean, the new tiles won’t bond properly and might pop off later. Take the time to scrape it down—your future self will thank you.
How much does a DIY bathroom tile renovation cost?
The exact cost depends on your bathroom size and the materials you choose, but doing the work yourself can significantly reduce labor costs. By handling the project solo, you’re mainly budgeting for your tiles, thin-set mortar, grout, and a few essential tools.
Can I use regular wall tiles on the bathroom floor?
Please don’t! Floor-specific products are made to be slip-resistant and durable enough for foot traffic. Using wall tiles on the floor is a major safety hazard, especially when things get wet in the shower.
How long do I have to wait before I can finally use the shower again?
It’s best to wait at least 24 to 48 hours after you’ve finished grouting and sealing. You want the adhesive and grout to be completely cured so that no water seeps behind your new tile installation.
Ready to Start Your Renovation?
You’ve got the steps, and you know exactly what to watch out for. There is a massive, incomparable sense of pride that comes from walking into a bathroom you tiled entirely by yourself. If you’re feeling inspired, why not pick out your favorite bathroom tile design and start measuring your space today?
What’s your dream bathroom style? Tell me in the comments below, or subscribe to my weekly newsletter for more step-by-step DIY guides that actually work. Let’s get your home looking amazing!